Here is what I use to warm my hide glue with.
This is built using the ‘la petite’ Melting Pot for Wax, Sugar & Paraffin. This is a beauty supply wax melter for various purposes but mostly putting liquid wax on you so you can rip hairs out. Currently this goes for under $20 on Amazon. For a bit more you can get the ‘la grande.’ It is quite a bit larger, but I don’t need the size.
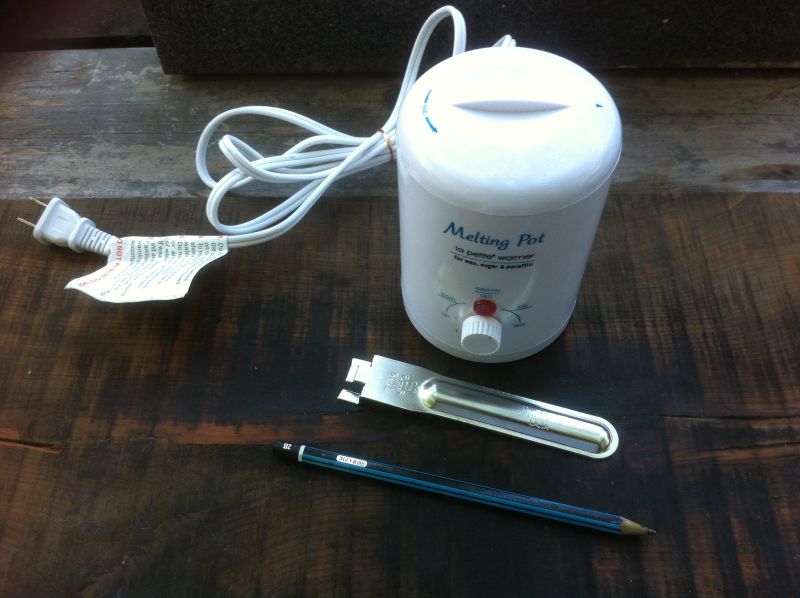
The pencil is for scale, the unit comes with a lid that lock on and should not be used when powered. It also comes with a handle thing apparently for removing small tins of wax from the warmer. The warmers bowl does not come out.
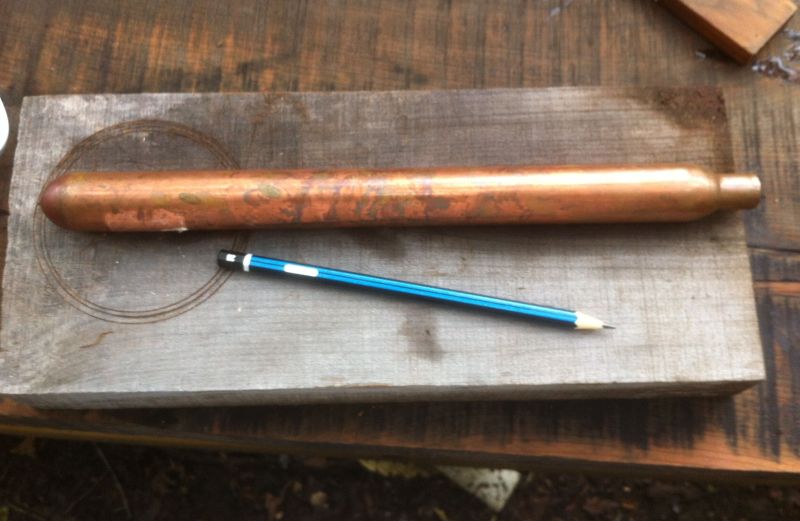
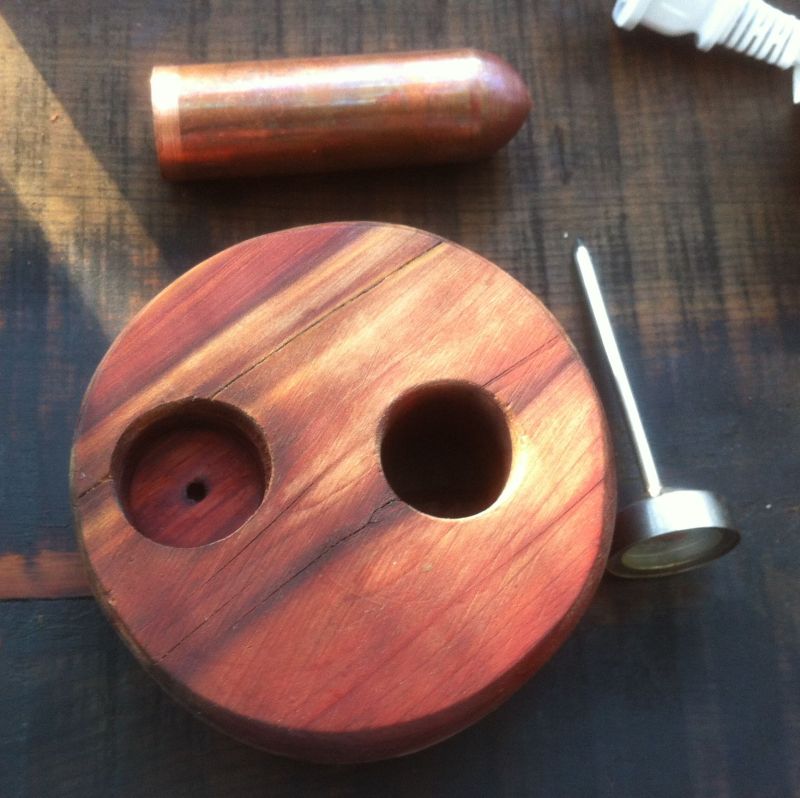
There are numerous indications that a copper pot is ideal for hot hide glue. Copper distributes heat well and may well impart a resistance to mold and fungus. I decided to make mine with a copper bowl. I am a hobbyist, so I rarely use more that a couple of tablespoons of glue when I work. So this design is to make a nice warmer for a small quantity of glue. So this project uses a copper ‘test tube.’
To get an easy copper ‘test tube,’ look for a copper stub out, hammer arrestor, or air chamber. You could also make one by metal spinning, but the cost of copper sheet may be more than the pipe fittings. A copper air chamber gives you a decent size for the buck. Copper is expensive but if you find an old hardware store with product that has not been upgraded in price, you might get as good a deal as I did.
After sawing the air chamber, sanding a cork to fit it and finding an old steak thermometer, I had all I needed apart from the lid. The steak thermometer is ideal since it is made to stay in the steak as you cook it. It can handle juices and heat while assuring that the glue is at the right temperature.

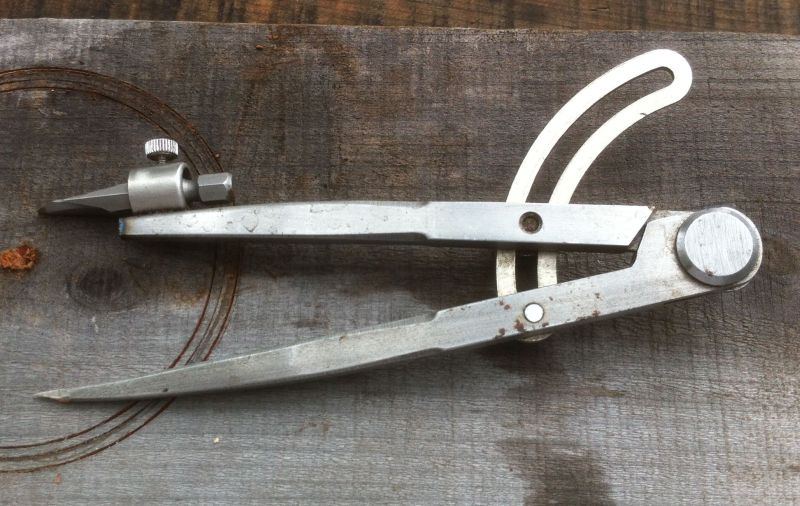
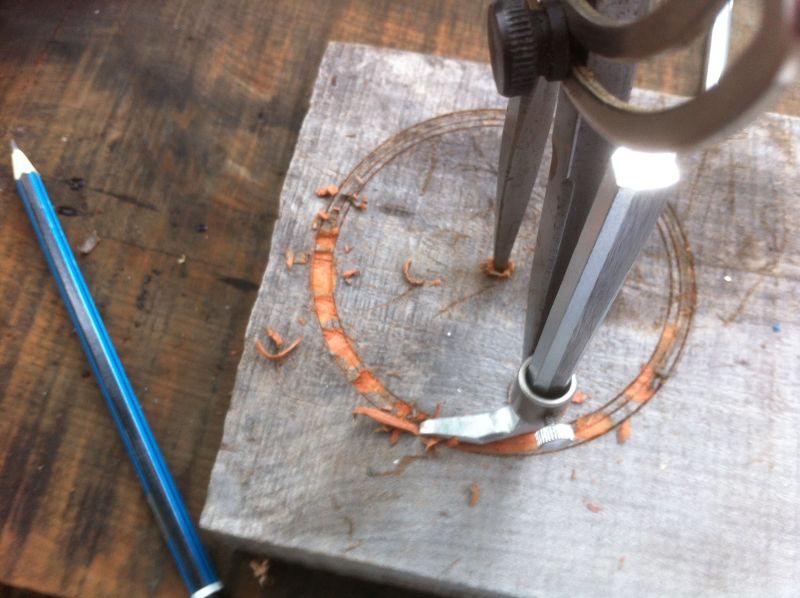
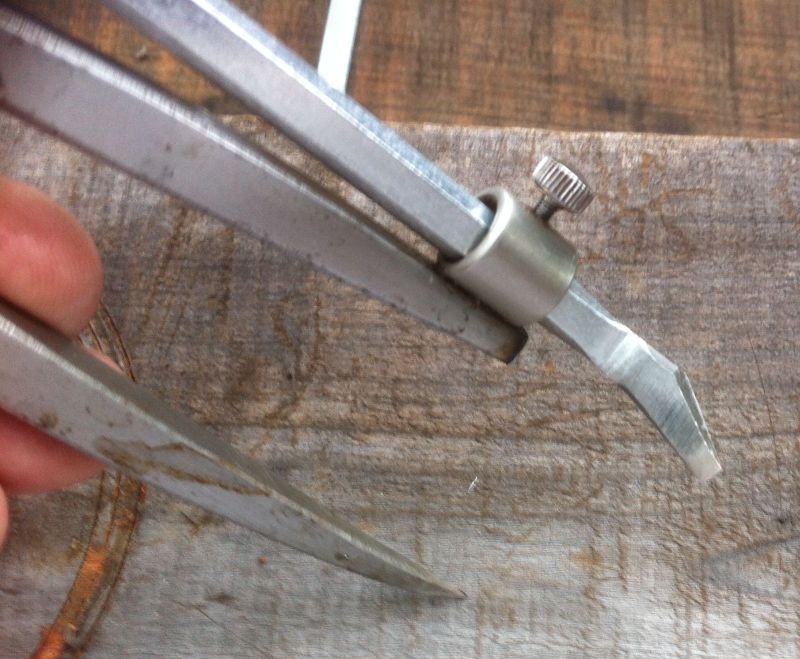
I used a compass with a hex bit ground to a knife edge to mark and start making the lid.
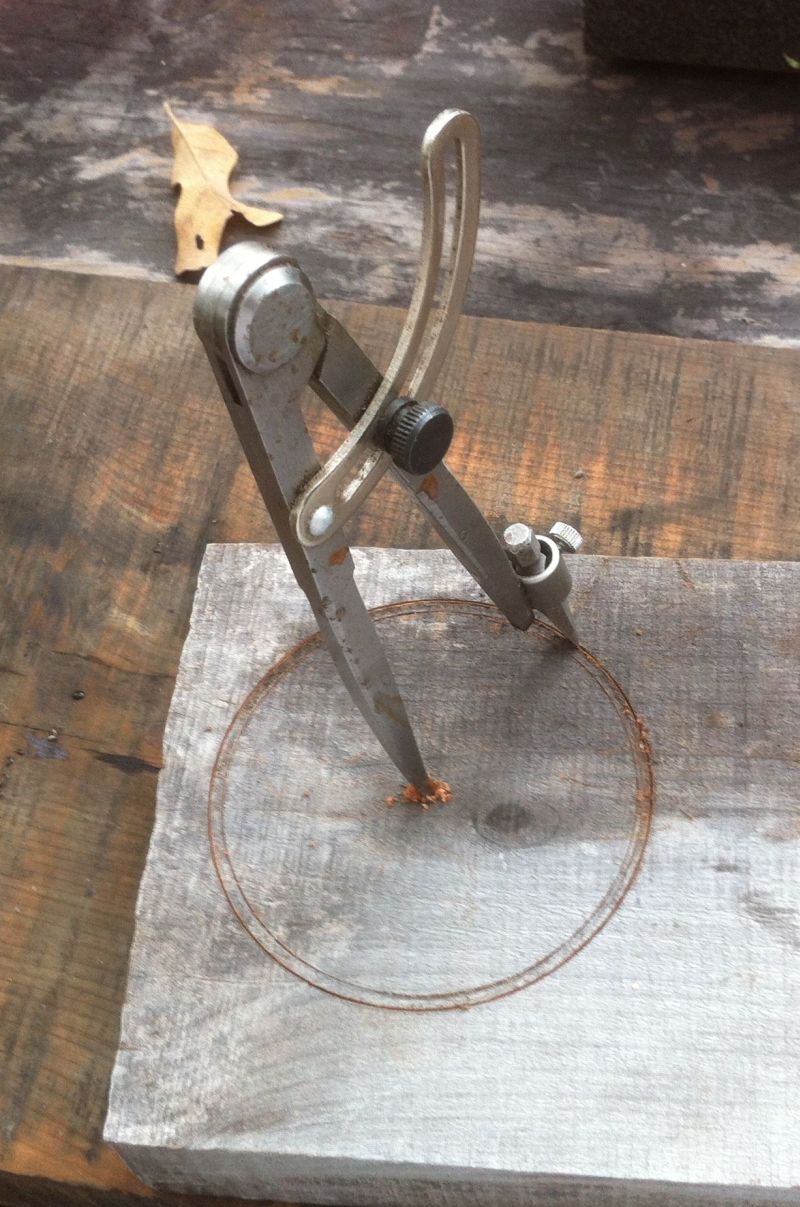
Here is another view of the compass, cutter and old weathered slab of cedar that I used to make the lid from.
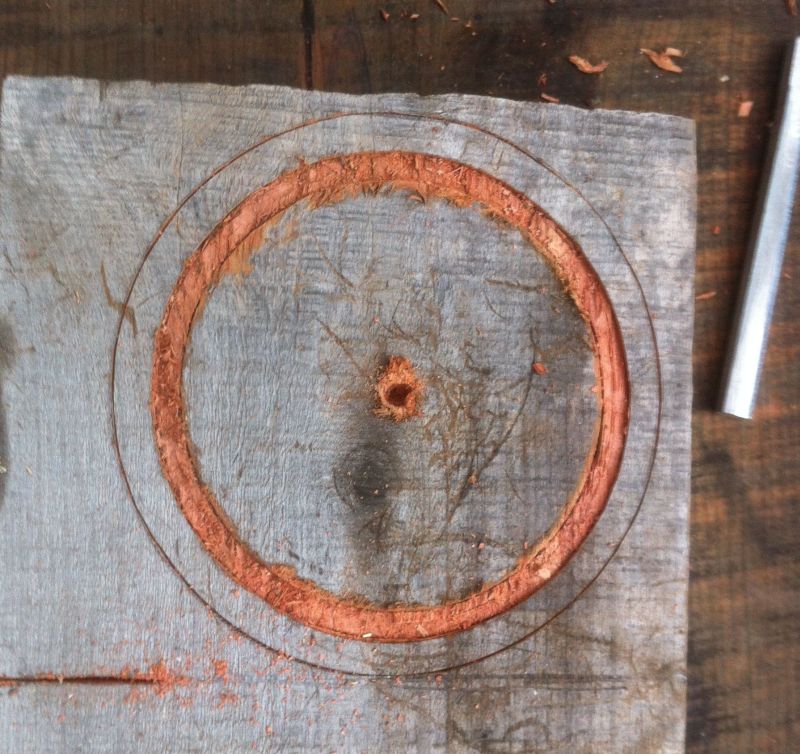
From a hex wrench I improvised a chisel for cutting between the scored lines.
After a few passed of cutters and chisels I was ready to use a gouge to make a deeper groove.
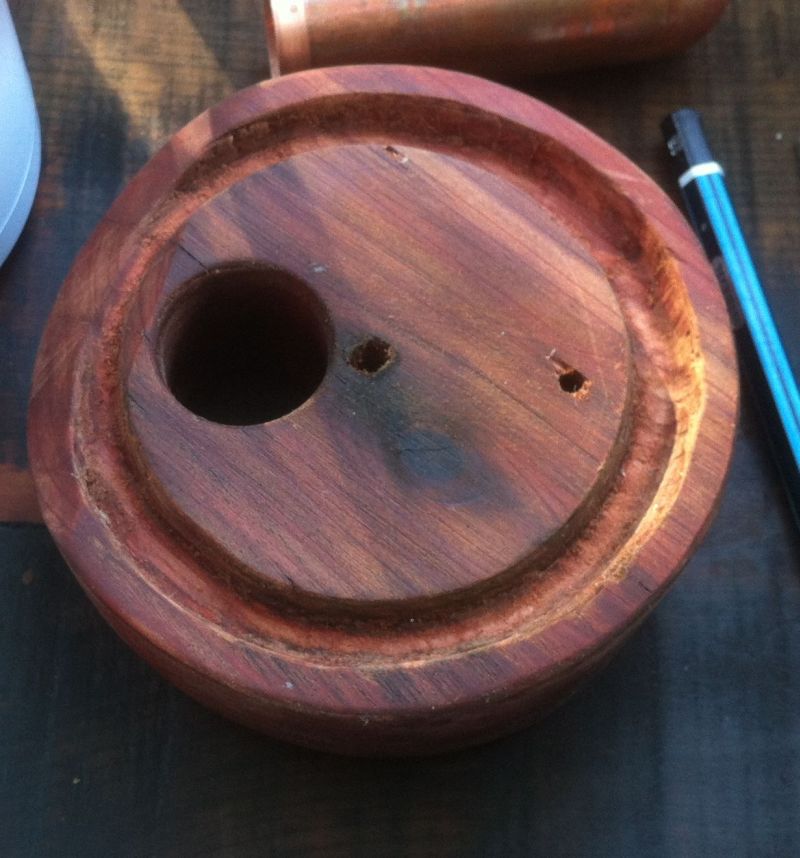
After drilling here is the top of the lid.
The bottom has the groove and a relief cut on the side. I don’t want the unit to overheat, so I want air flow from the plastic jacket on the Melting Pot.
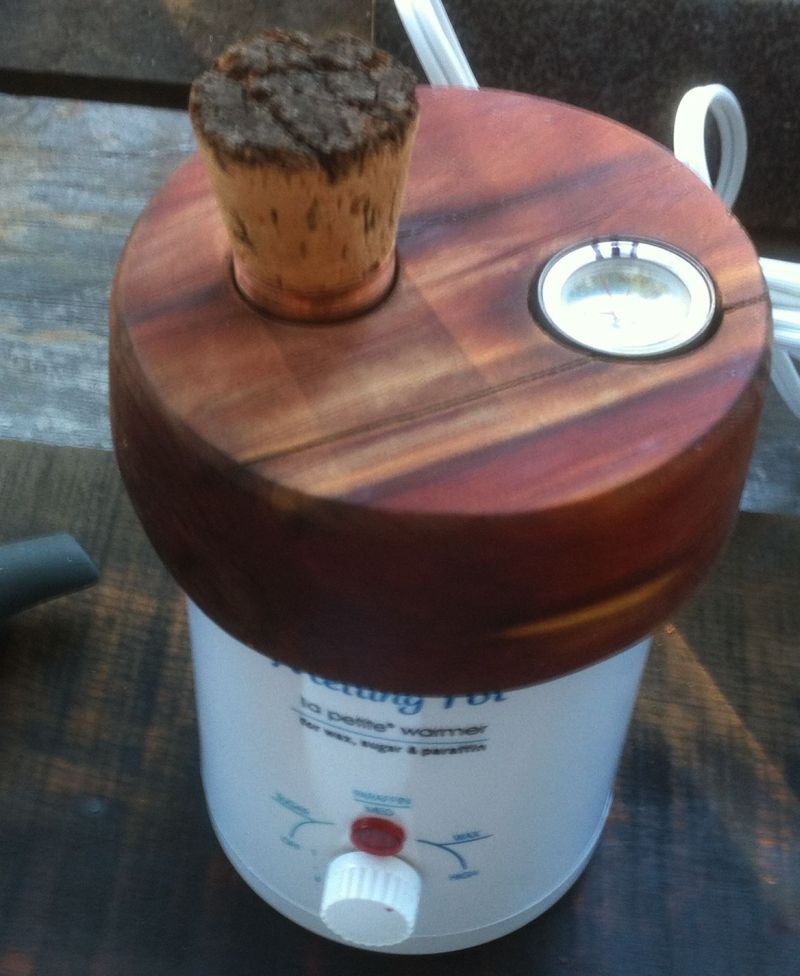
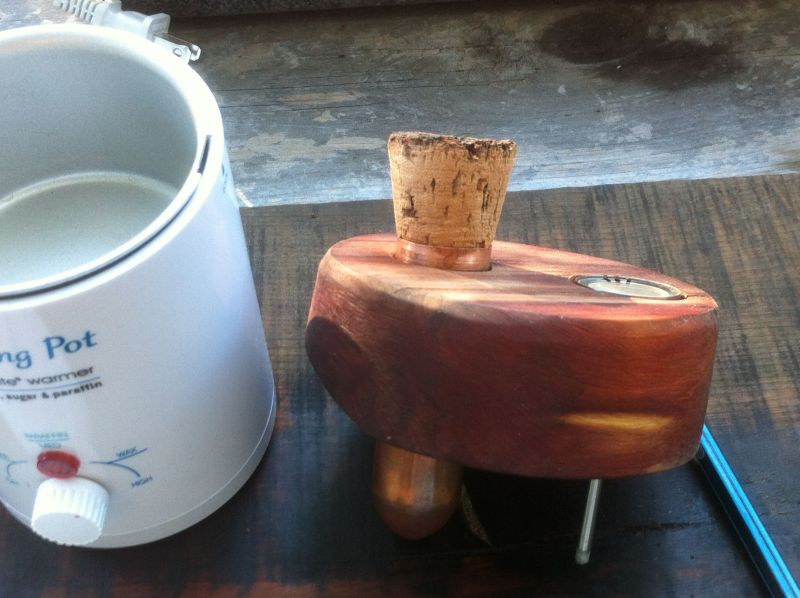
The finished lid will let the copper vial and thermometer just touch the bottom of the pot. With water about a third full on the pot, the thermometer end and copper vial heat admirably.
Here you can see the marks I made on the thermometer to show me when the temperature is in range. I used another calibrated thermometer to measure temperature so I could mark this correctly.

Here is the final unit ready for action!
Bob
 A page Dedicated to My Writing
Did you find the high humidity changes had any adverse impacts on the wooden lid?
The wood I used started out with a few cracks, you can see them in the pictures. I figured it was experimental anyway and the wood would not be good for anything that had to support a load. The wood however is aromatic juniper that is pretty tough in this regard. So far the crack is evident but even after a long period of use and abuse it is clear that the lid will survive.
Bob