Simple Scratch Awl, A Good First Tool to Make

Awl

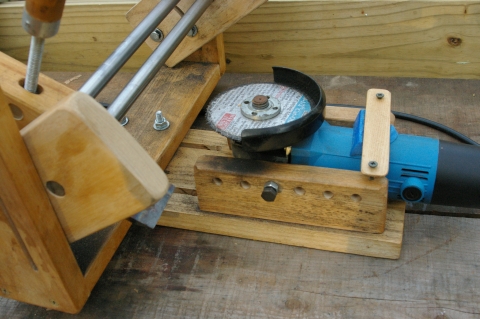
All you need is a drill with a range of bits, a pencil,  some sand paper, two  small blocks of wood, some epoxy, and an inexpensive round diamond file. A vise will make it safer to do, and a saw, knife or chisel might make your work easier.  A bit of masking tape and some wax or oil might be nice too.

Awl

First you drill a small hole in one block and force the pointy end of the file into this hole so you don’t have a pointed  end to worry about as you work.

Then  you drill a hole in the end of the block of wood that is going to be the handle.  This is  for the end of the file to go in, and it needs to be a nice snug but not tight fit.

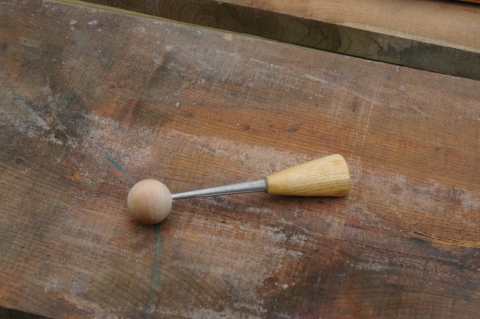
I used a small bit of ash for my handle, but apart from long term wear, a cork might even work.

Then you fit the base of the file into the hole and then use the pencil to mark out the shape you want for the handle to have.    Then you remove the wood that doesn’t belong and sand the block into a decent enough shape.  You want to regularly fit the file back into the hole to make sure the tool lines up and meets your standards of quality.

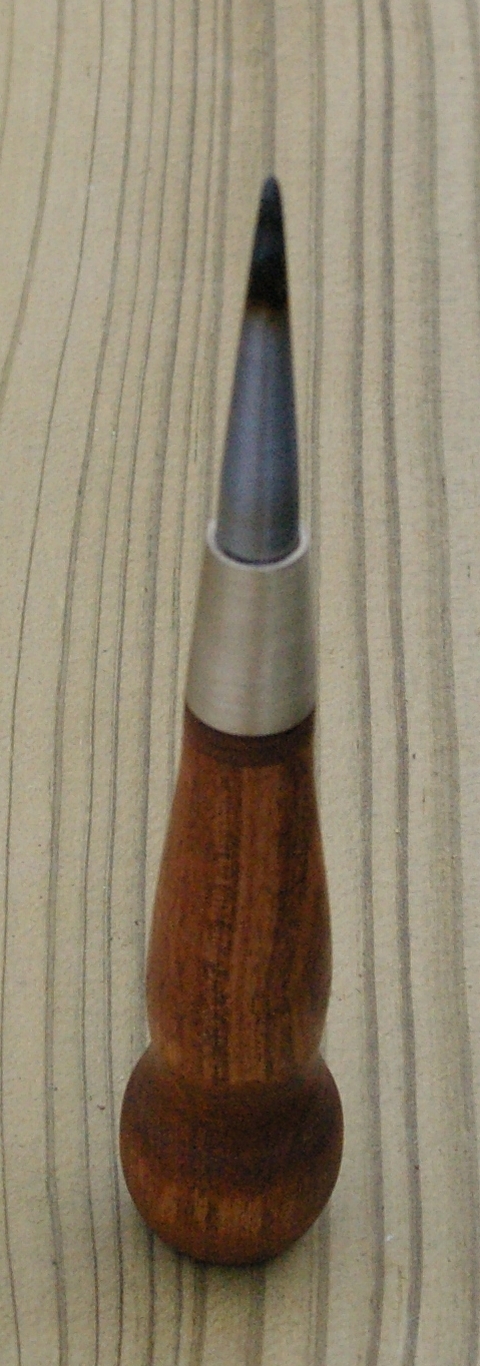
Once you have it right,  it is time to sharpen the tip of the diamond file.  You do this by chucking the big end of the file into the drill and then, at a low angle, grinding the tip on sandpaper, with the drill spinning.  Just sharpen the tip, the diamond coating on the awl can still be used to sharpen with.  This makes this tool multi-purpose.

Once you have it nice and pointy, then you put the point back into the protective block, and epoxy the handle onto the file.  At this point, you wait a day for the epoxy to really get solid before you go any further.

Now you can sand the handle and clean up the tool a bit more.  Be careful not to sand the tool bit.  To prevent clumsiness, a bit of masking tape on the file might keep it a bit safer.

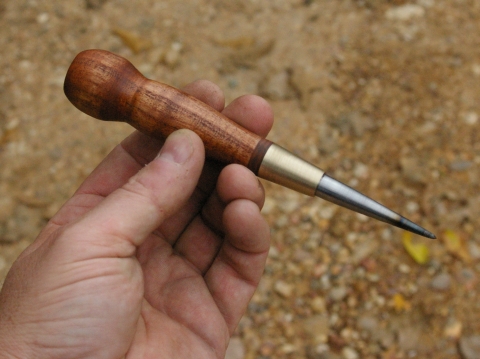
When you are done, you can leave the handle bare, or put wax, or oil on the handle to make the grain stand out.

If you look really close, you can see a groove in the file. This is for sharpening points. If you make two of these, maybe they could sharpen each other.

Awl groove
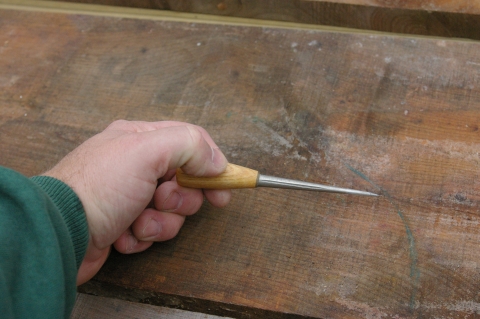
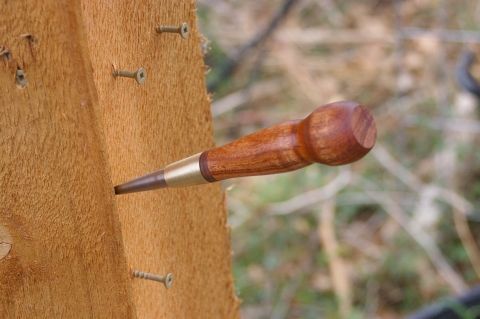
Now you have a tool that can mark lines with precision and reduce tear out when cutting wood. It can mark and start holes for drilling, It can sharpen points, and curved blades. It can even smooth drilled holes in steel. Not too bad a tool to have on hand.

Bob

The Project that Got me Started

I have an affection for Penny Whistles and Ocarinas.    I also have a bit of a collection of these.  My wife also loves these, but hates loud, high pitched noises.

So I decided to make a low Penny Whistle.  Lots of odd research and equipment involved.  Lots of skills to develop, and physics models to play with.  It was a very fun project and it taught me quite a bit.

Of course I did not follow conventional form, instead I borrrowed and twisted and innovated a bit of my own.   The result was quite well worth it.

About the innovations,

The fipple is on the opposite side of the flute from the finger holes and it presents on a corner.

This allows the instrument to be held closer to the body in a more natural pose.

The holes are  grouped with the hands seperated and the holes skewed to make them a more natural grip.

The entire instrument is made from cedar and constists of only two parts.   There is no glue holding the fipple in the bore.

The sound is to me, exquisite.  Almost a pity for such a fine instrument to be kept by such a poor musician as myself.

The case is made of popular and cedar, with a milk paint finish.

The case has been through quite a bit, but has held up nicely.

Cedar is an ideal wood for an instrument.  It breathes and does not expand much when damp.  Flutes get damp.
This one project required developing skills and tool use outside of the use of a circular saw or table saw.  It led me to another world that I am happy to now live in.

Bob

Tool for Making Blades

Not yet perfected, but it is showing good  potential as a prototype.

The wood clamp slides along the two bars.  The held blade slides across the grinder.

The angle and position can be adjusted.

After using it a bit, it needs to be easier to adjust and micro adjustment to slowly bring the vise closer to the wheel would be nice.

It isn’t so much a hand tool as a power tool to make hand tools, but it does do a reasonable job for me.

Bob

A Scratch Awl from Scratch

Here is the answer to the Chrismas Puzzle!

Here are all the fixings to make another one!

It may be a bit, Cutting down aluminum bronze takes a bit of work.

O1 Steel, the tip has been tempered and left quite hard.  The rest has not been hardened.  The aluminum bronze is quite tough and solid stuff.  Work to work but it is pretty and one of the more resistant to just about every thing materials.  A pair of leather washers right where the fingers will probably grip, and a mesquite handle.

Bob

A Christmas Puzzle

Here is a tool I made as a gift.  Not the hardest puzzle to solve, but a puzzle.

No fair guessing, Skip, you saw the sketches!

My goal here was to make a tool that would appeal to both my love of the simple rustic line and to those who desire bling.  It is made of mesquite, O1 Steel. aluminum bronze and leather.

Bob