A Rather Odd Planter/Seat

As I survey the mess I call home, it becomes clear that as important as a tool is, a place to put it is every bit as important.  Even when a tool is being used, it needs a place.  So I have started to put small racks and shelves all over my yard to allow me to put a tool down, without leaving it a mess.  When a sudden shower ocours, keeping the tool clean and dry is not such a problem.

This is a rather eccentric one, but I think it will do the job nicely.

The shelf can hold a few woodworking and yardworking tools or hose fittings and keep them safe from intermittent weather.  Not really a good place for tools long term, but it reduces my time looking for what I put down somewhere over there.

It has a nice long bench and a small platform by the shelf for setting a mug of coffee.

The young calamondin trees planted at the back of the planter are in unlined soil.  In the front lined section, I have pak choy, choy sum, elephant garlic, and swiss chard planted.

The calamondins will eventually provide a nice fruiting privacy hedge.   The back side of the shelf needs something in the way of an ornament to relive the plainness.  The seat is however quite ideal.

Bob

Inexpensive Planter

My preference is for a planter with a seat around it. The seat is a comfortable spot in the garden and you can sit while taking care of or harvesting from the garden. There are places where this will not work as well however, and a seat does take up a lot of room.

Here is how to make a fairly classic planter, that you can upgrade inexpensively with modern materials.

The wood in it is two cedar pickets more or less. These can be made from old fence sections or new wood. Since they are going to weather anyway, old fence will have a nice rustic look. In this case however the planks are new.

Here is the pattern I made. The sides are a a five degree tilt, I just wanted enough taper to be visible and no more.

One part of the section is longer than the other. The width at the very longest part in this case is 14 inches, but this can be varied.

Put together with a block of end scrap, you get this.

The sides are just like it only longer.

Short deck screws can easily put it together. The sides are a bit longer. This give a bit more meat to the end of the board, so the screws don’t split the wood as bad. I used a bit of scrap to space it evenly.

In an earlier day this would be made with two planks fitting into the bottom but not quiet at the bottom. To improve on this and make it a touch cheaper, I use a liner instead.

This is agricultural liner rated for 15 years. It should do a nice job of letting water drain and still keeping weeds from growing into the pot. This will still give me reasonable plant isolation and gives me more plant space. In addition the final result should be a bit more charming than all the black pots.

Bob

A Fine Example of Gouge Use

A carver calls it a chisel, the rest of us call it a gouge.  I guess the carver uses it more, but then we all know what a gouge is.

Over on WoodTreks, Brad Ramsay is being shown using a gouge to carve with. He of course calls it a chisel.

Keith Cruickshank once again has done superb cinematography.  In a video that left me wanting more and more. Hand grips, methods and artistry are show clearly.  He also shows how to do the layout in another video!  Thanks Keith!

Bob

Potting Mix

I garden a bit differently than most. Most of my garden is in pots. I do this primarily to conserve water. It also allows for easy weeding, plant isolation, and soil experimentation. Gardening in pots allows me to garden under trees. In my area, willow shade will reduce the brunt of summer quite well, making the garden enjoyable instead of unbearable.

The big expense gardening this way is potting soil. Not so bad really, the single month, summer water bill for conventional gardening vs gardening they way I am doing it, will easily pay for a years potting soil.

When I set up a garden pot, I try to use 3 gallon or larger pots. I stuff the bottom third with leaves to keep the soil from draining out with the water. Then I add my planting mix.
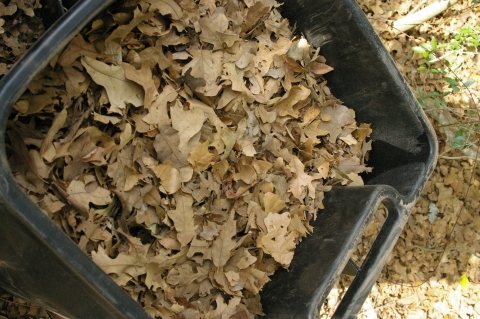
Here is enough soil to fill 20 3 gallon pots.
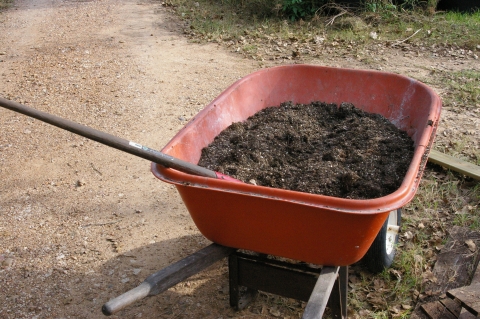
My mix Starts with spent mushroom dirt. For some plants, it end with that. My Celery loves mushroom dirt straight up. Daikon radishes will do fine in it as long as I supplement the potassium levels just a bit.

As a disclaimer, when you get a truck load of mushroom dirt, you often get a very rich smell. You can also get a bunch of flies for a while. This is a price I am willing to pay.

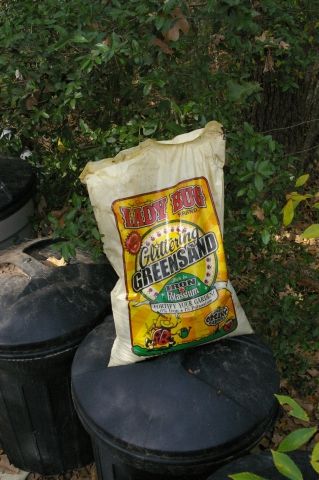
For potassium, I use Green Sand. This is 1% slow release. This maintains a decent level of potassium in the pots. This helps the roots develop, and makes the veggies better sources of potassium. In potting soil, potassium is usually the first thing to wash out. So a long term addition is a good thing.
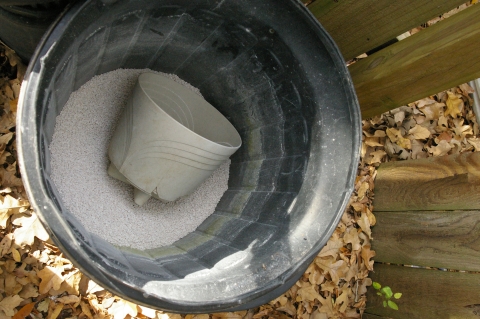
Also quick to wash out of a pot, is calcium. Not having enough calcium will give brown spots at the bottom of tomatoes, blossom end rot, and will produce vegetables with less calcium. So for healthy plants and healthy people who eat the plants, a good calcium supply is needed. I try to incorporate some crushed limestone chicken grit. As you can see in the photo, I am almost out. This is nice slow release calcium. Not as slow as you might think however, it is often quite gone after two years.
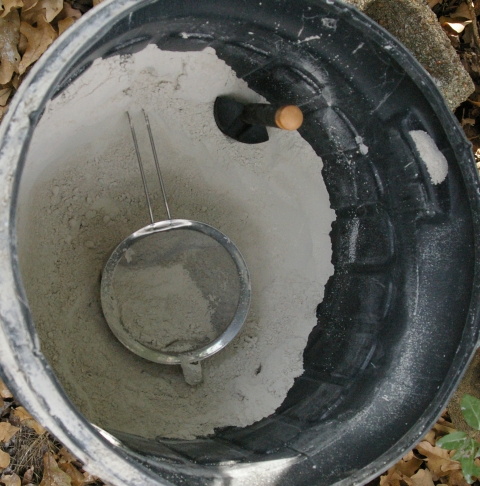
For a quick hit of calcium or a dressing for plants, or to balance a low PH, I will used crushed agricultural limestone. The strainer is for spreading it on the surface of beds, and sprinkling on leaves. Some plants will absorb it from the leaves, and some insects, not as many as I would like, find it repellent.
A lot of plants will do fine in fine soil, but a lot of plants do better if they have a courser soil or more air space in the soil. This can be a problem, since the soil can dry out easily. Two common additions to soil can help give air space while retaining moist soil. Vermiculite and Pearlite.

Vermiculite

Pearlite
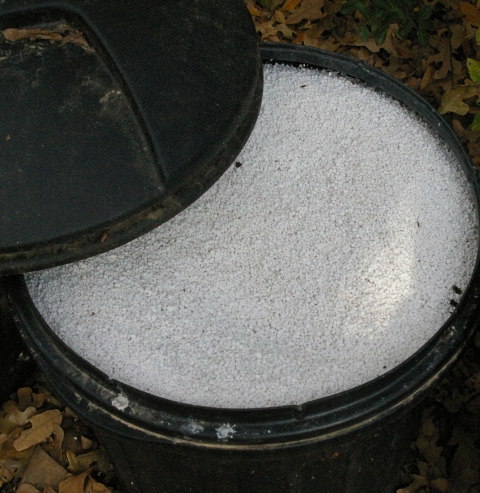
Pearlite is volcanic glass that has been heated under pressure. The sudden release of pressure makes it puff up like popcorn. This is fairly inexpensive if you buy it in a huge, yet far from heavy bag. It is still one of the larger expenses when you pot a lot. This is great stuff. I suspect the silica provided help some plants to be healthier and thus help us be healthier when living on them. I prefer to avoid it when growing root vegetables, as some can get included in the root and give a bit of a gritty feel to some root vegetables.

Vermiculite is a touch more expensive and not quite as light. It does not provide quite as good an air channel structure as pearlite, but it helps with moisture and nutrient retention better. For root vegetables this is a wonderful thing to add. I find I need to add more of it to get a good mix, than when I use pearlite.   Vermiculite is Weathered Mica, that has been expanded the same way that pearlite has been expanded.

I always try to save a bit of mushroom dirt for later emergency use. The mound of mushroom dirt becomes a garden plot after it gets reduced to the right height, so by doing this, I don’t have to get as many loads over time.
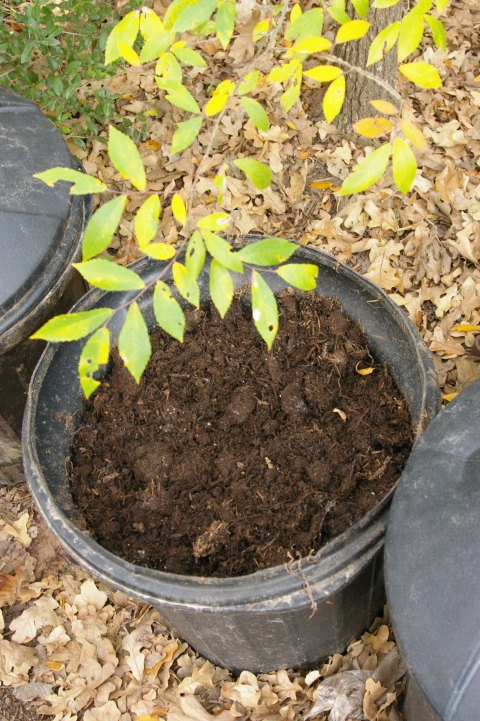
Peat Moss is also a good addition, It increases the soils ability to breath, and acidifies the soil a bit. This can compensate for the calcium supplement added to the soil. It promotes the growth of healthy root in several ways, and helps give a good texture to the soil.
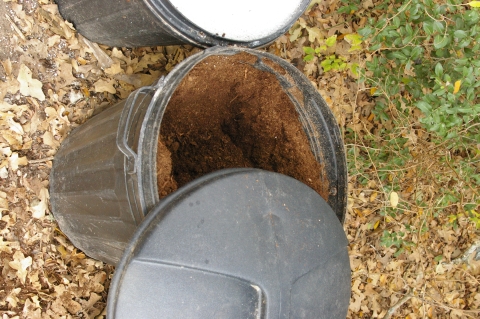
My standard mix is about 15 parts mushroom dirt, 5 of pearlite, 4 of peat moss, 1 of crushed Limestone, 1 of Limestone Chicken Grit, and 1 of Green Sand. This is usually done by the shovel full and mixed in a wheelbarrow.

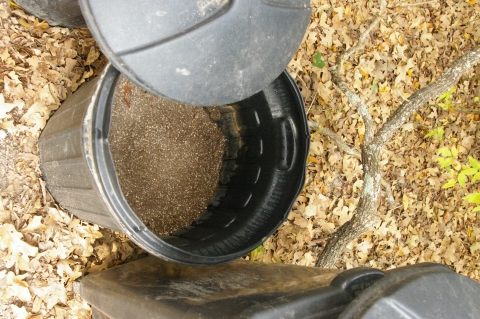
I also take a 1/8″ screen and sift a bunch through it. The course soil left is great for growing. The fine stuff I save and uses as a starting mix for young plants I want to treat carefully.
Bob

A Rectagular Planter

I prefer to make hexagons, but sometimes space calls for something a bit different.

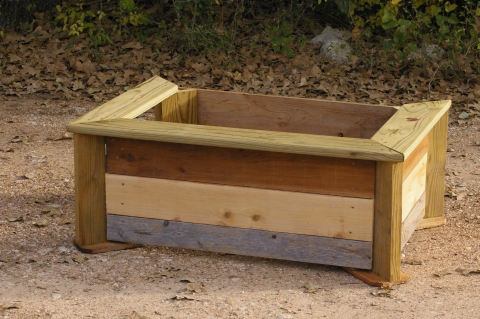
Here is a pretty, and inexpensive garden seat and planter.

I left it unfinished to show it’s construction.

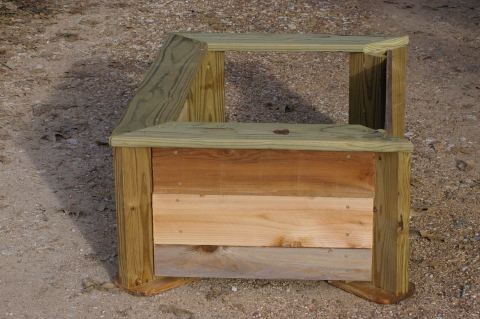
Looking closely at the corner,  almost all the details are clear.

The vertical T structure has the side plates screwed to it, and the angled top board screwed to it.  The Top side plate will further support the top board.  This gives is a stable structure.  The total height of the planter is sixteen inches.

First I made four T sections 15″ long, and attached a small bit of scrap to the bottom so the planter will be less inclined to sink into the ground over time.

Then I usually put the top boards on and then add the side plates.  If I want to grow a tree in it, I then just put it in place and fill it with soil.  If I plan to use it for a garden planter, I line it.

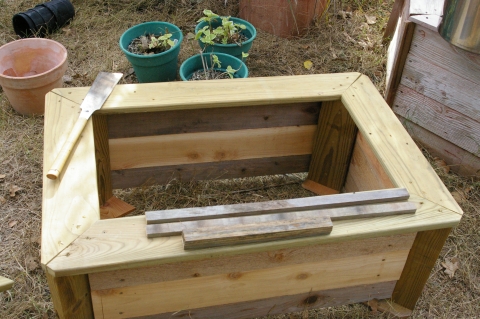
The small boards on the planter are for holding the liner in place.

The liner keeps grass from invading from the bottom.  This stuff is rated for 15 years, it will be a while before I can back that up with experience.

After the liner is in, I put it in place and fill  it with soil.

Finally it is all done and ready to plant!

Being able to sit on the planters edge makes weeding, planting and all manner of other operations much easier.  It is rather nice to have seats in the garden.

Bob